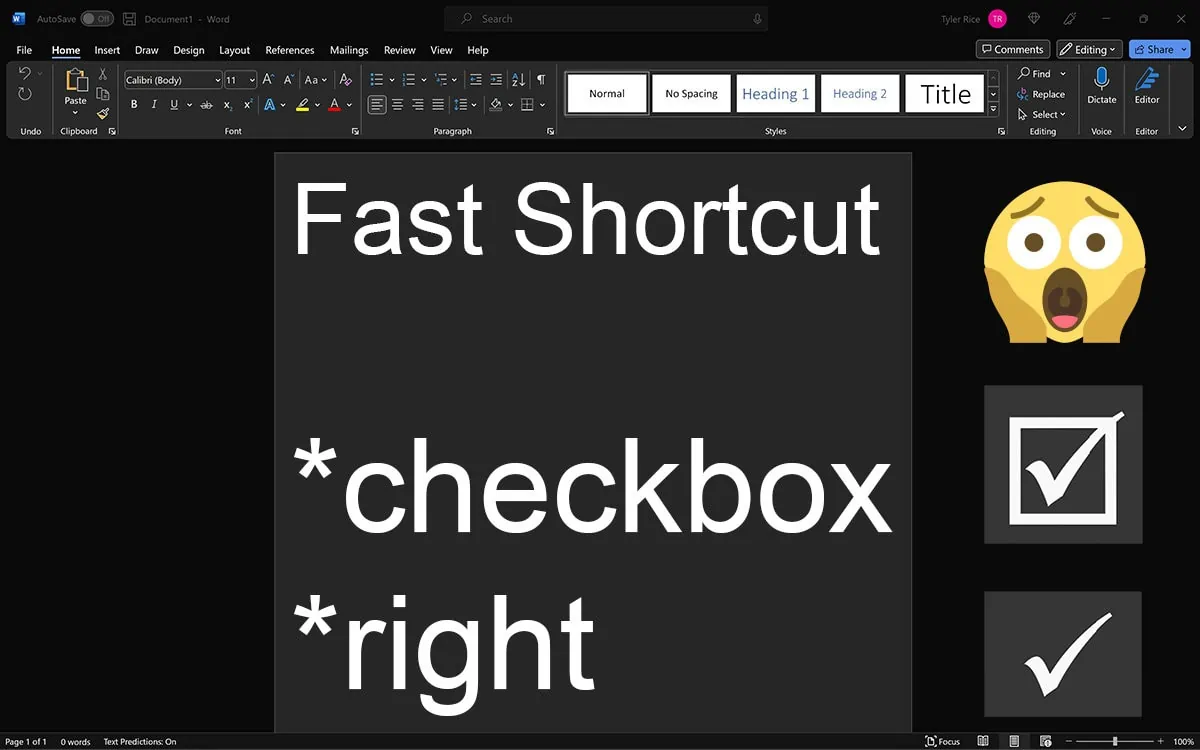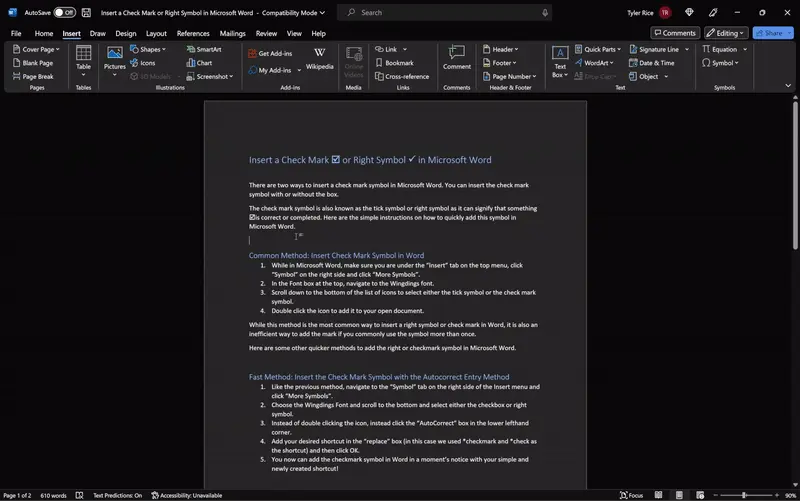
There are two ways to insert a checkmark symbol in Microsoft Word. You can insert the check mark symbol with or without the box.
The check mark symbol is also known as the tick symbol or right symbol, which can signify that something is correct or completed. Here are the simple instructions on how to quickly add this symbol in Microsoft Word.
Common Method: Insert Check Mark Symbol in Word
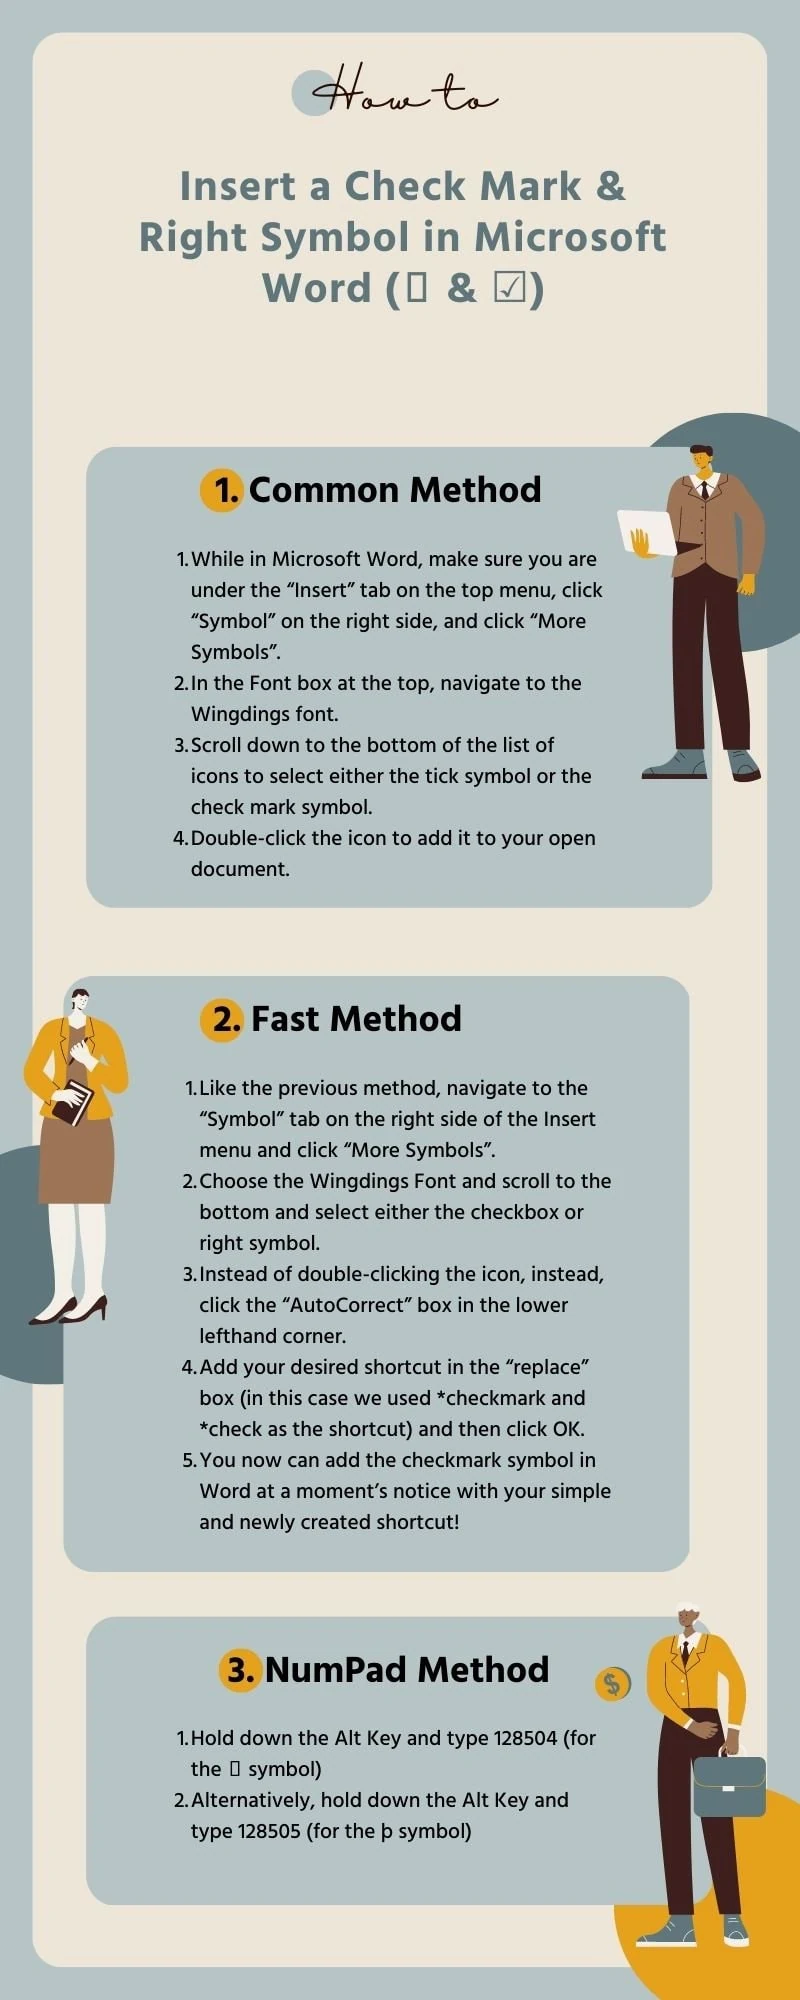
- While in Microsoft Word, make sure you are under the “Insert” tab on the top menu, click “Symbol” on the right side, and click “More Symbols”.
- In the Font box at the top, navigate to the Wingdings font.
- Scroll down to the bottom of the list of icons to select either the tick symbol or the check mark symbol.
- Double-click the icon to add it to your open document.
While this method is the most common way to insert a right symbol or check mark in Word, it is also an inefficient way to add the mark if you commonly use the symbol more than once.
Here are some other quicker methods to add the right or checkmark symbol in Microsoft Word.
Fast Method: Insert the Check Mark Symbol with the Autocorrect Entry Method
- Like the previous method, navigate to the “Symbol” tab on the right side of the Insert menu and click “More Symbols”.
- Choose the Wingdings Font and scroll to the bottom and select either the checkbox or right symbol.
- Instead of double-clicking the icon, instead, click the “AutoCorrect” box in the lower lefthand corner.
- Add your desired shortcut in the “replace” box (in this case we used *checkmark and *check as the shortcut) and then click OK.
- You now can add the checkmark symbol in Word at a moment’s notice with your simple and newly created shortcut!
Other Methods for Adding a Check Mark Symbol in Word
There are two additional methods of adding the check symbol in Microsoft Word although they are more specific to certain individuals that have more unique styles in typing.
Using the NumPad Keys to Add the Check Mark Symbol
If you have a dedicated NumPad Keys section on your keyboard, you can use a code to quickly insert the check mark symbol as well.
Note: This will only work with a dedicated NumPad Keys section on your keyboard – which cannot be used with the common numbers above the letters. This is more commonly found on desktop computer keyboards and not on laptops.
Here are the steps for adding the symbol using the NumPad Keys:
- Hold down the Alt Key and type 128504 (for the 🗸 symbol)
- Alternatively, hold down the Alt Key and type 128505 (for the þ symbol)
The final method for adding the symbol in Word would be the ALT + X Method.
ALT + X Method for Adding Check Symbol in Word
- First type in 1F5F8 and then press ALT + X right afterward (for the ü symbol)
- Alternatively, type in 1F5F9 and then press ALT + X (for the ☑ symbol)
Work Smart Not Hard with Shortcuts in Microsoft Word
If you find yourself using Microsoft Word on a consistent basis, creating shortcuts and using the Autocorrect features can go a long way in saving you time while writing documents. It may seem like it only saves a handful of seconds but if you are commonly using certain symbols on a daily or weekly basis, then the time saved using these quick features will add up.


0 Comments